
Table of contents
- Overview
- Edit a subject using a names list
- Edit a subject with any tagging method
- Delete a subject using a names list
- Delete a subject with any tagging method
- Important note
- The takeaway
Overview
You can edit subject information in GotPhoto after activating your access codes. The steps differ slightly depending on whether you used a names list or another tagging method.
Edit a subject using a names list
If you uploaded a names list, follow these steps:
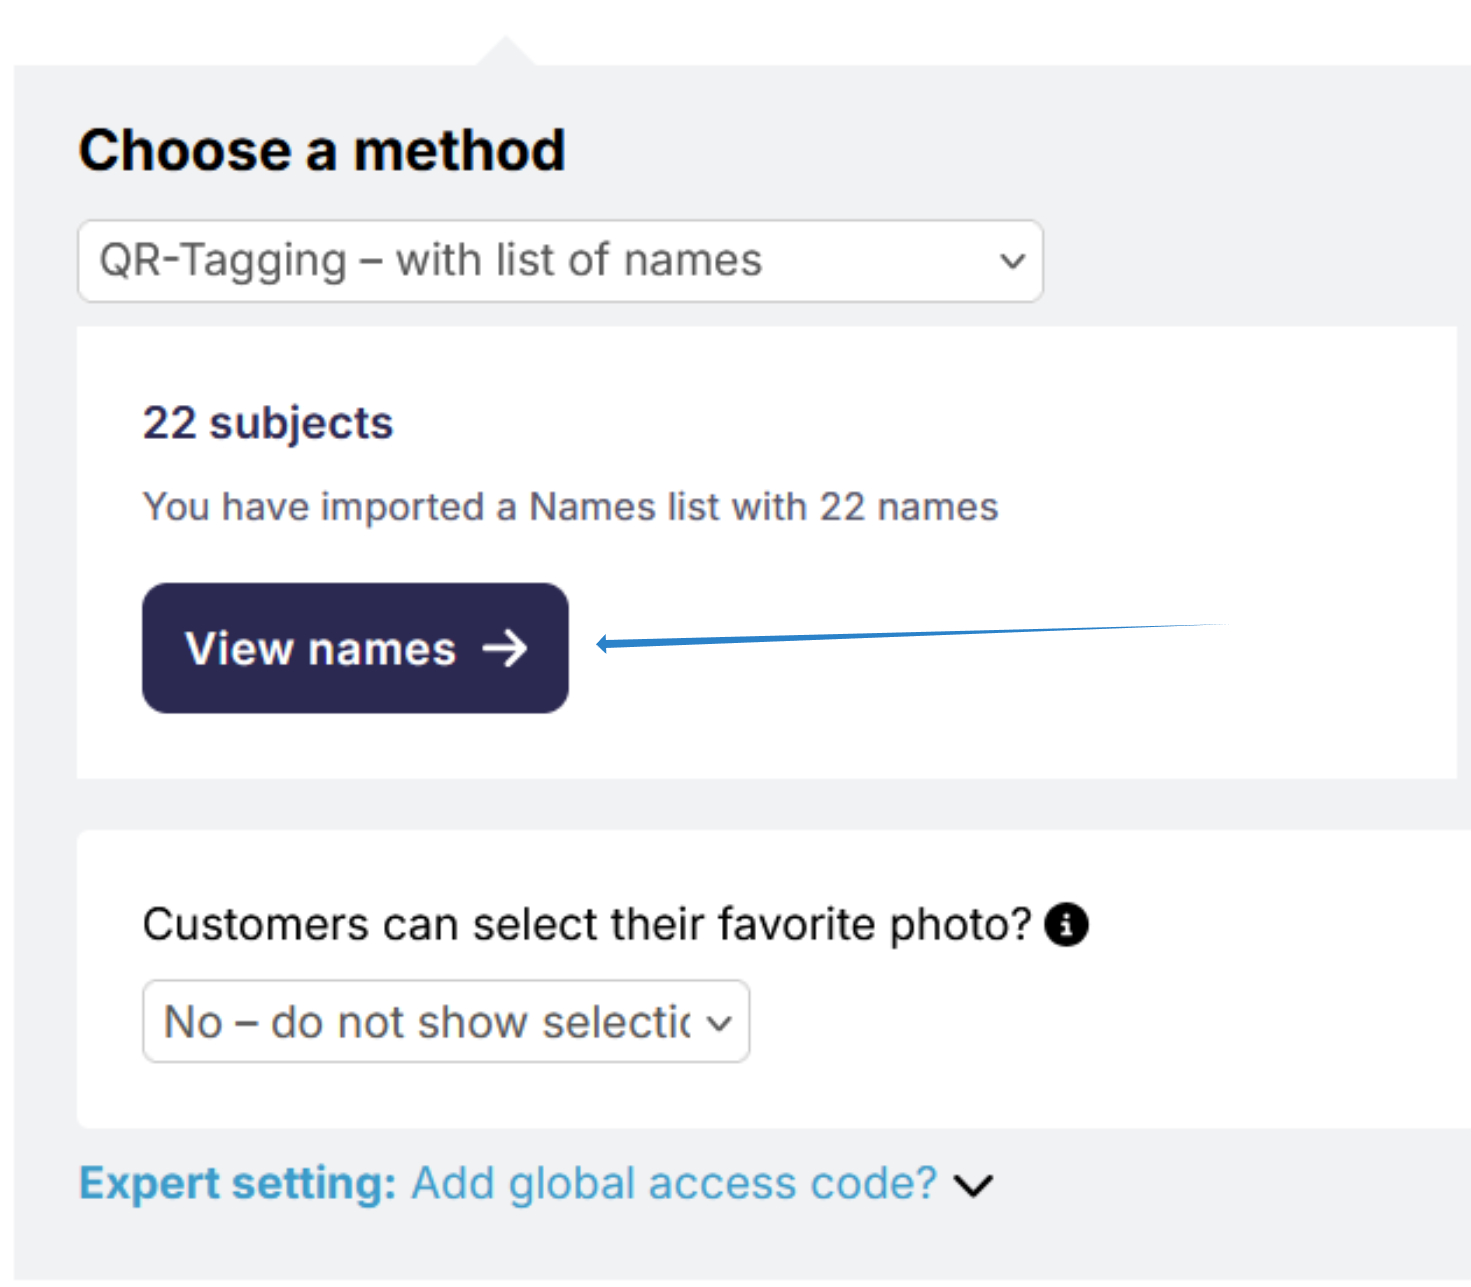
- 1Go to the Photo Job main settings page and click the blue View names button (under your tagging method).
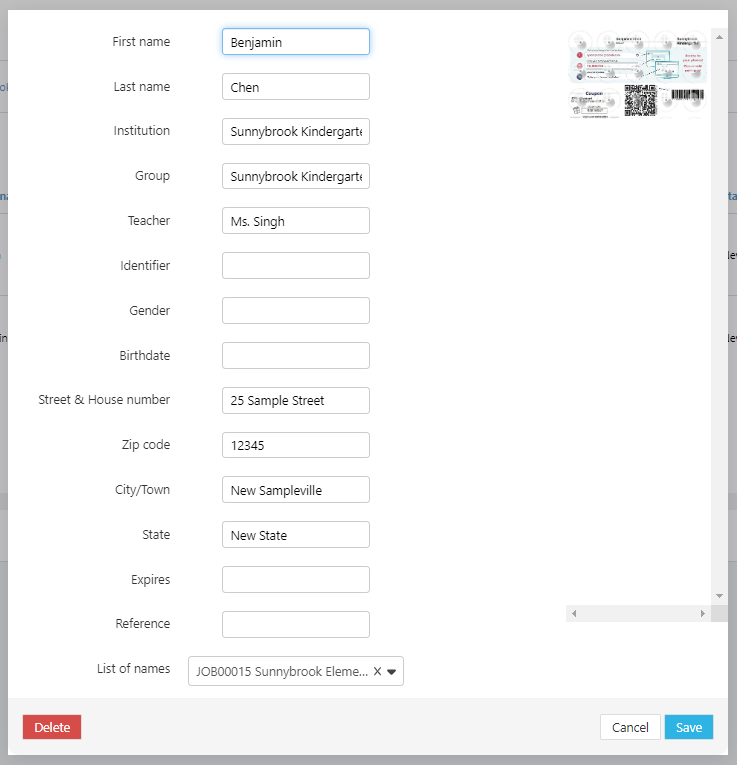
- 2On the next page, locate the subject you want to edit. Open the Actions dropdown in their row and select Edit.

- 3In the popup window, update the necessary fields and click Save.
Edit a subject with any tagging method
If you did not use a names list, or if you prefer to edit directly in albums, follow these steps:
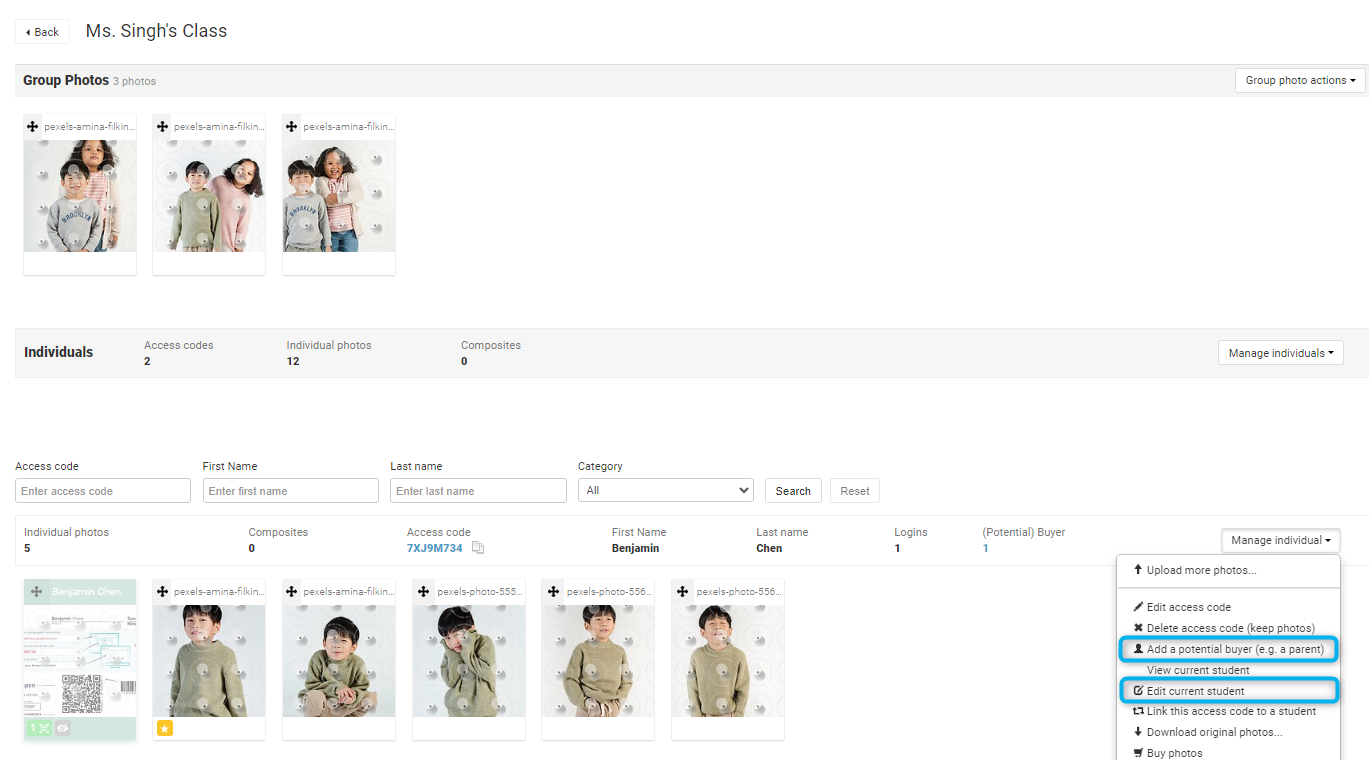
- 1Within the subject’s album, open the Manage individual dropdown menu.
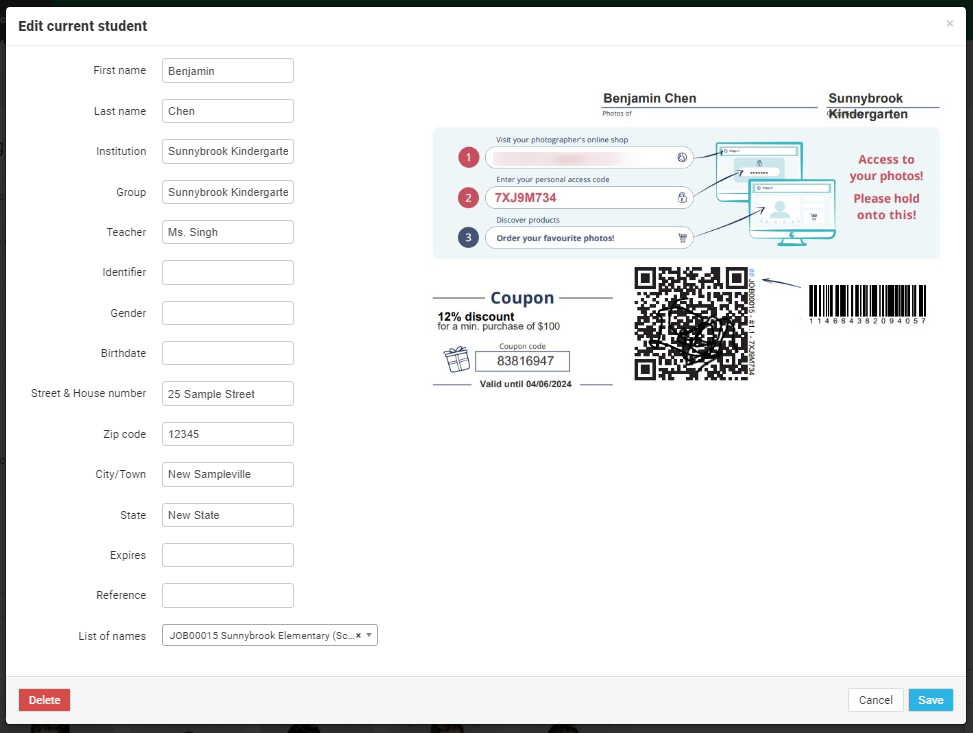
- Select Edit current student to update their details, or
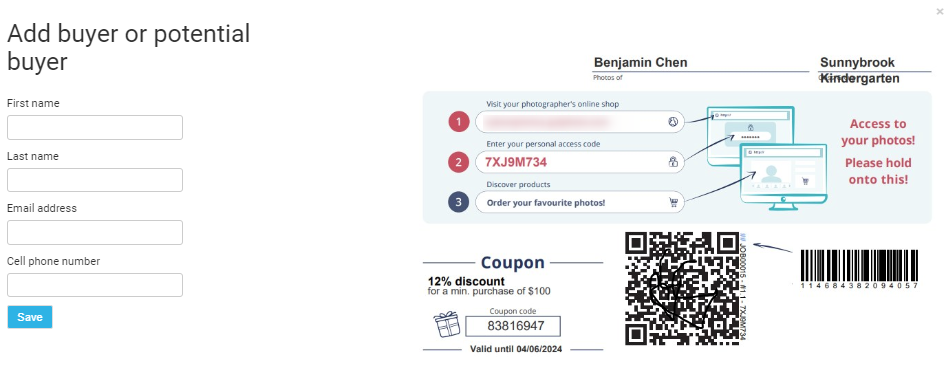
- Select Add a potential buyer to add a parent’s information.
- 2
- 3In the popup window, edit the desired fields and click Save.
Delete a subject using a names list
If you uploaded a names list, follow these steps:
- 1Go to the Photo Job main settings page and click the blue View names button (under your tagging method).
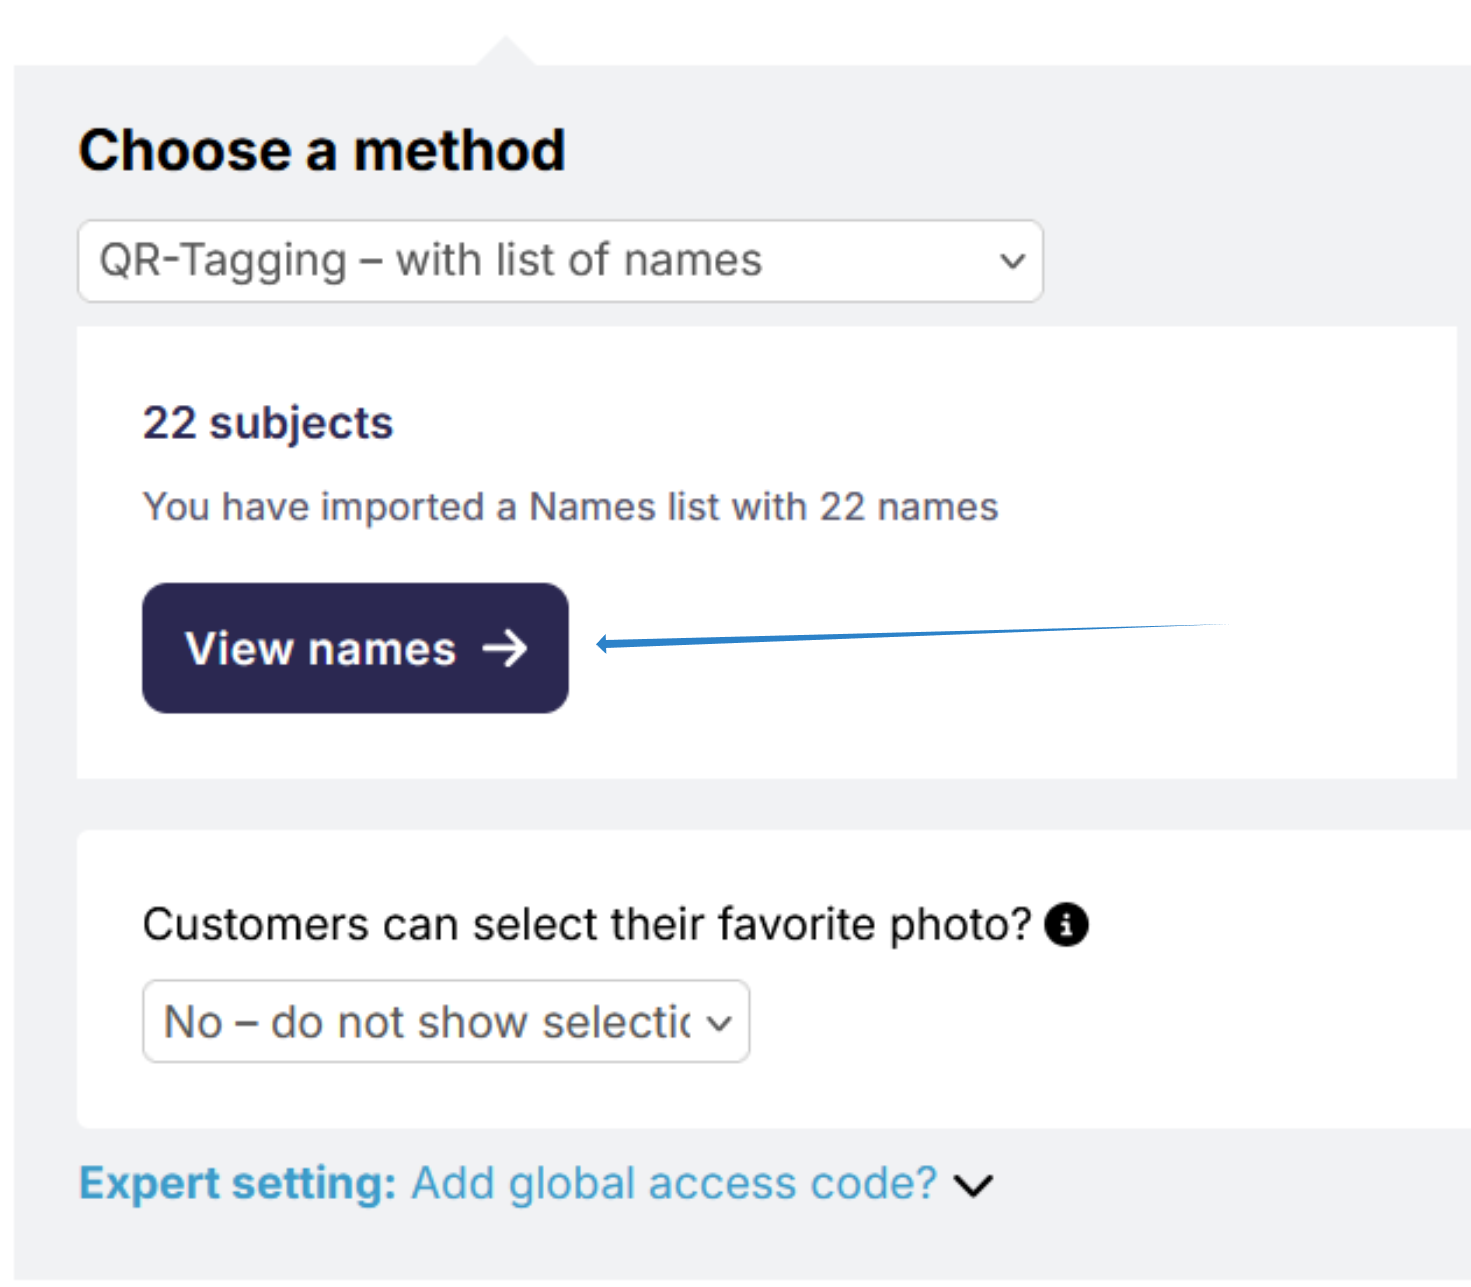
- 2On the next page, locate the subject you want to delete from the list. Open the Actions dropdown in their row and select Delete.

Delete a subject with any tagging method
If you did not use a names list, or if you prefer to delete the subject directly from the album, follow these steps:
- 1Within the subject’s gallery, open the Manage individual dropdown menu.
- 2Click Delete access code (keep photos).
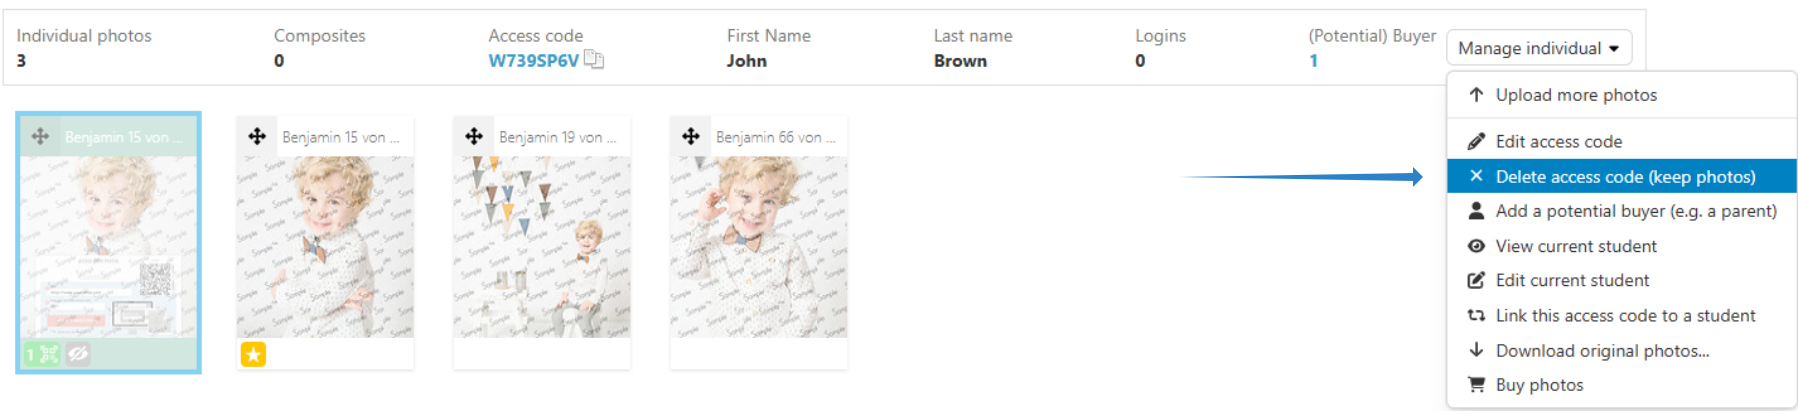
- 3Photos that were connected to the access code will be moved on top of the album. In order to remove them, highlight all photos and click on Delete (trash can icon on the right).

Important note
Updating subject information will not change details in existing orders. Only future orders will reflect the updated information.
The takeaway
You can edit subject details either from the Manage names section (if using a names list) or directly within a subject’s album. Remember that changes only apply to future orders, not to those already placed.