
Overview
Within an album, a variety of photo actions are available. Some actions can be applied to multiple photos at once, while others are intended for individual images. Here’s a quick overview:
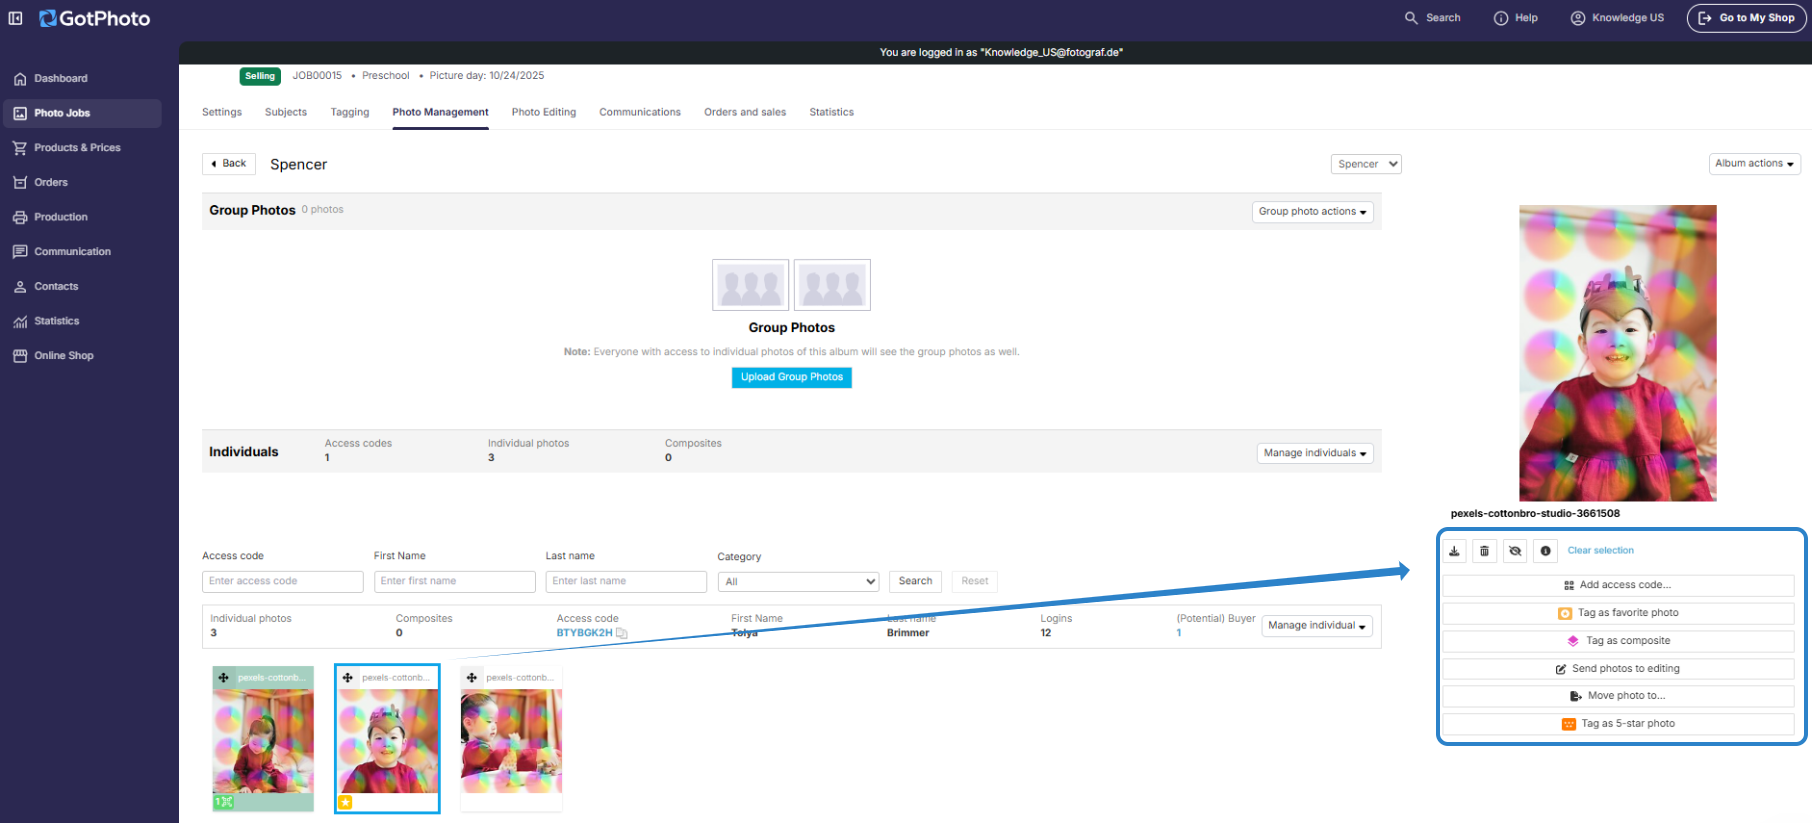
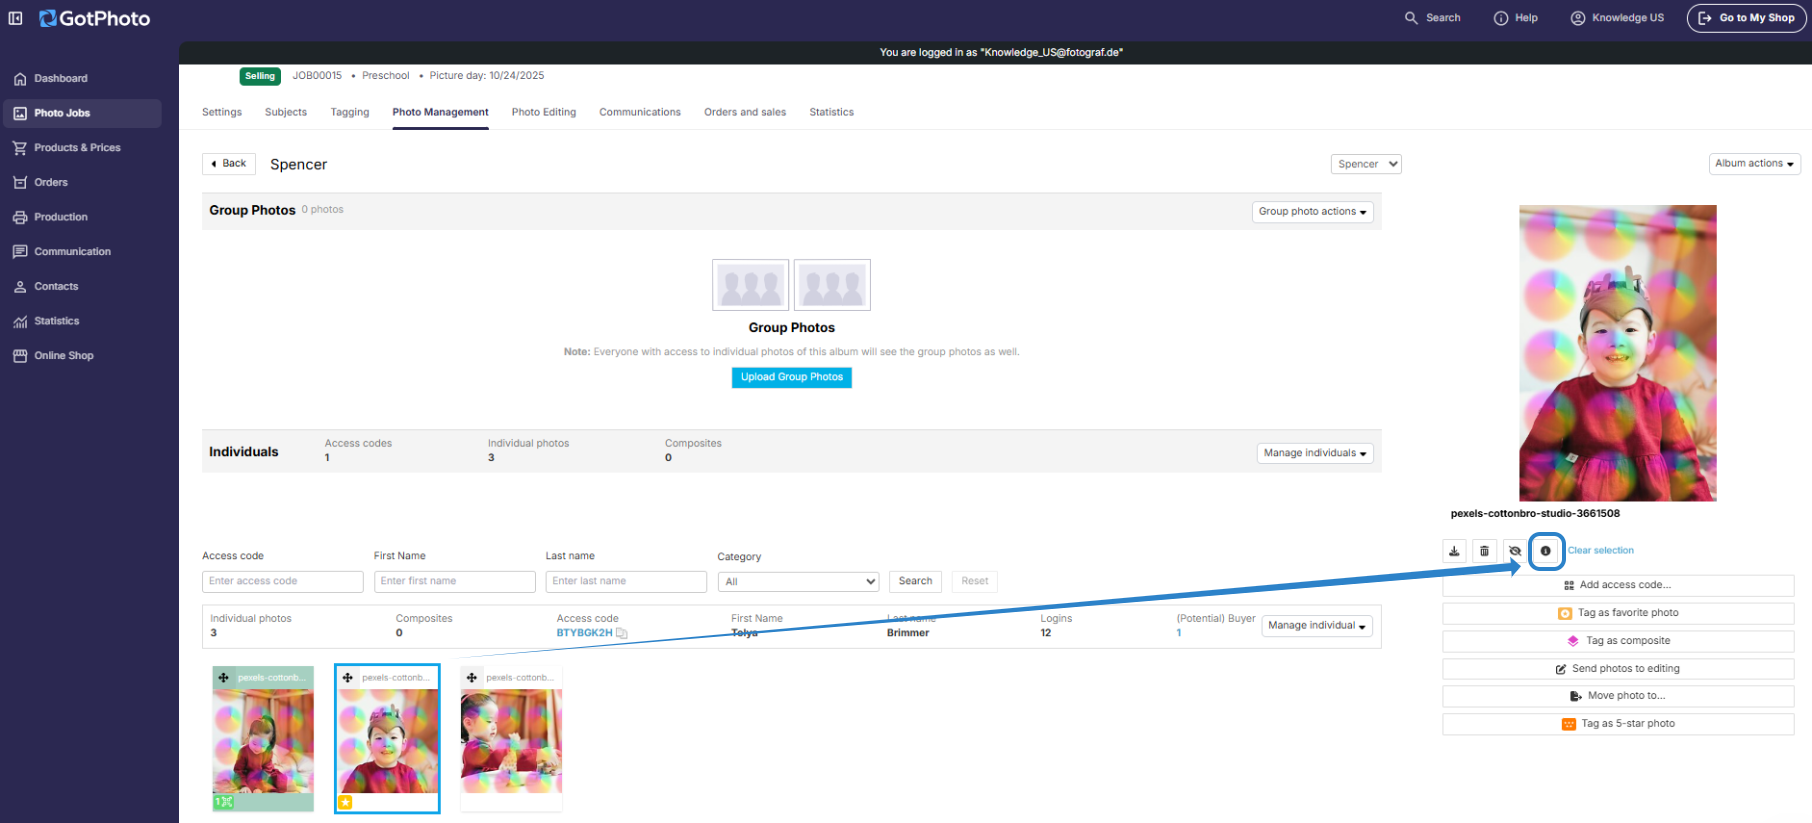
Download photo
- To download a single image: Click on the photo, then click the download icon below the larger preview in the top-right corner.
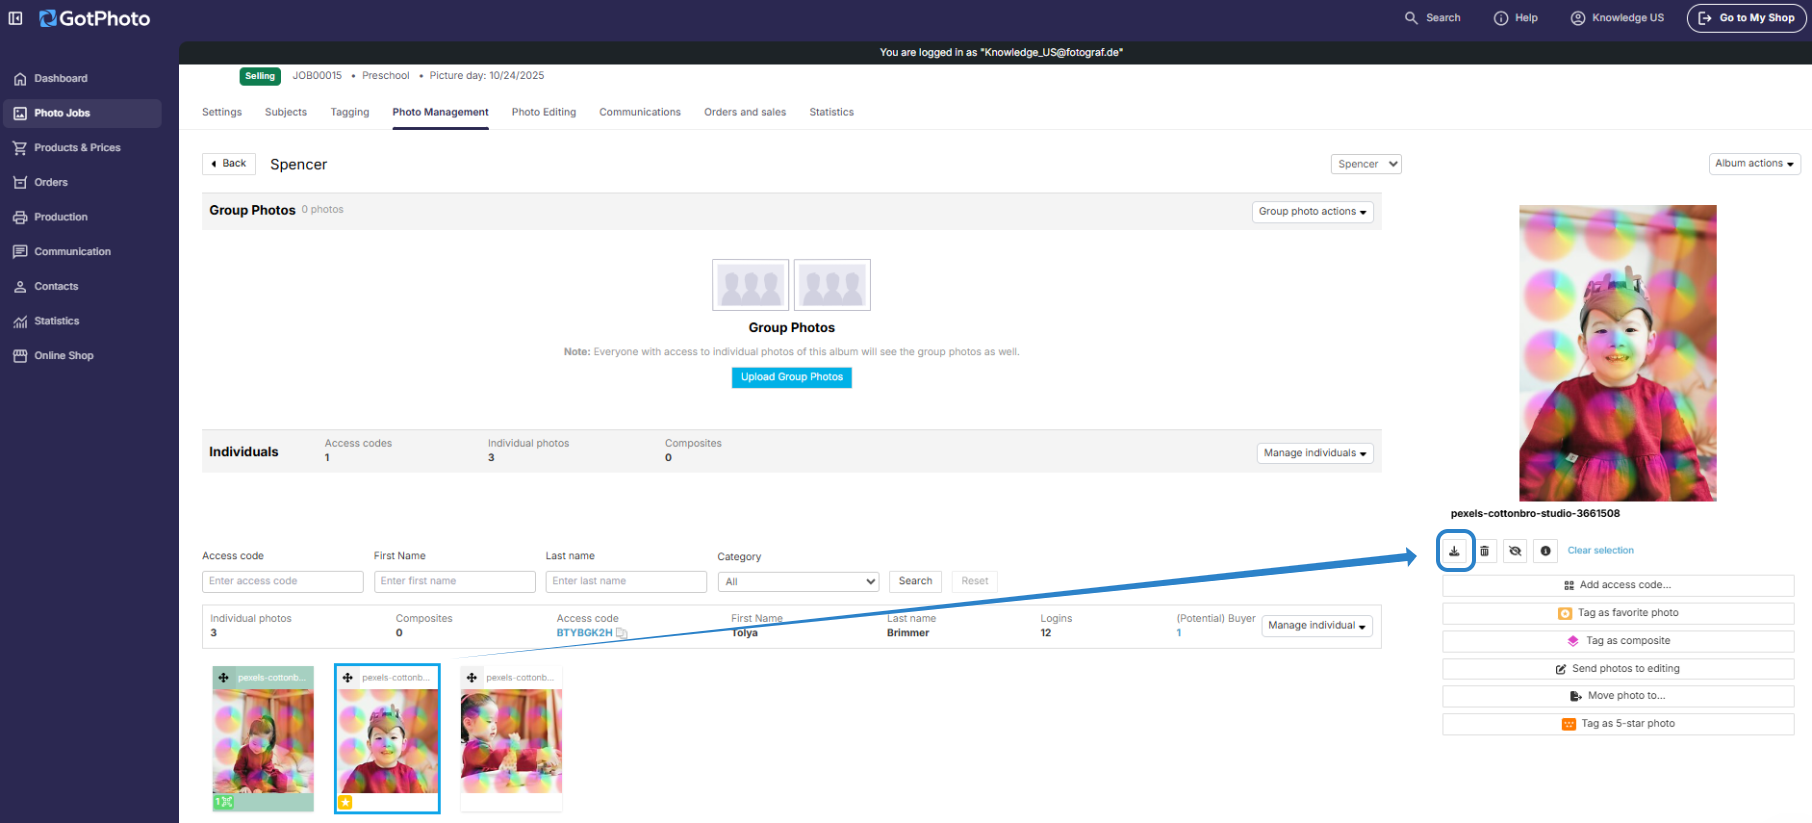
- To download all images for an access code: Click on Manage individuals > Download original photos.
- To download the complete album: Click Album actions > Download album in the top-right corner.
Delete photo
You can delete one or more photos by clicking on the photo and then selecting the trash can icon below the large preview.
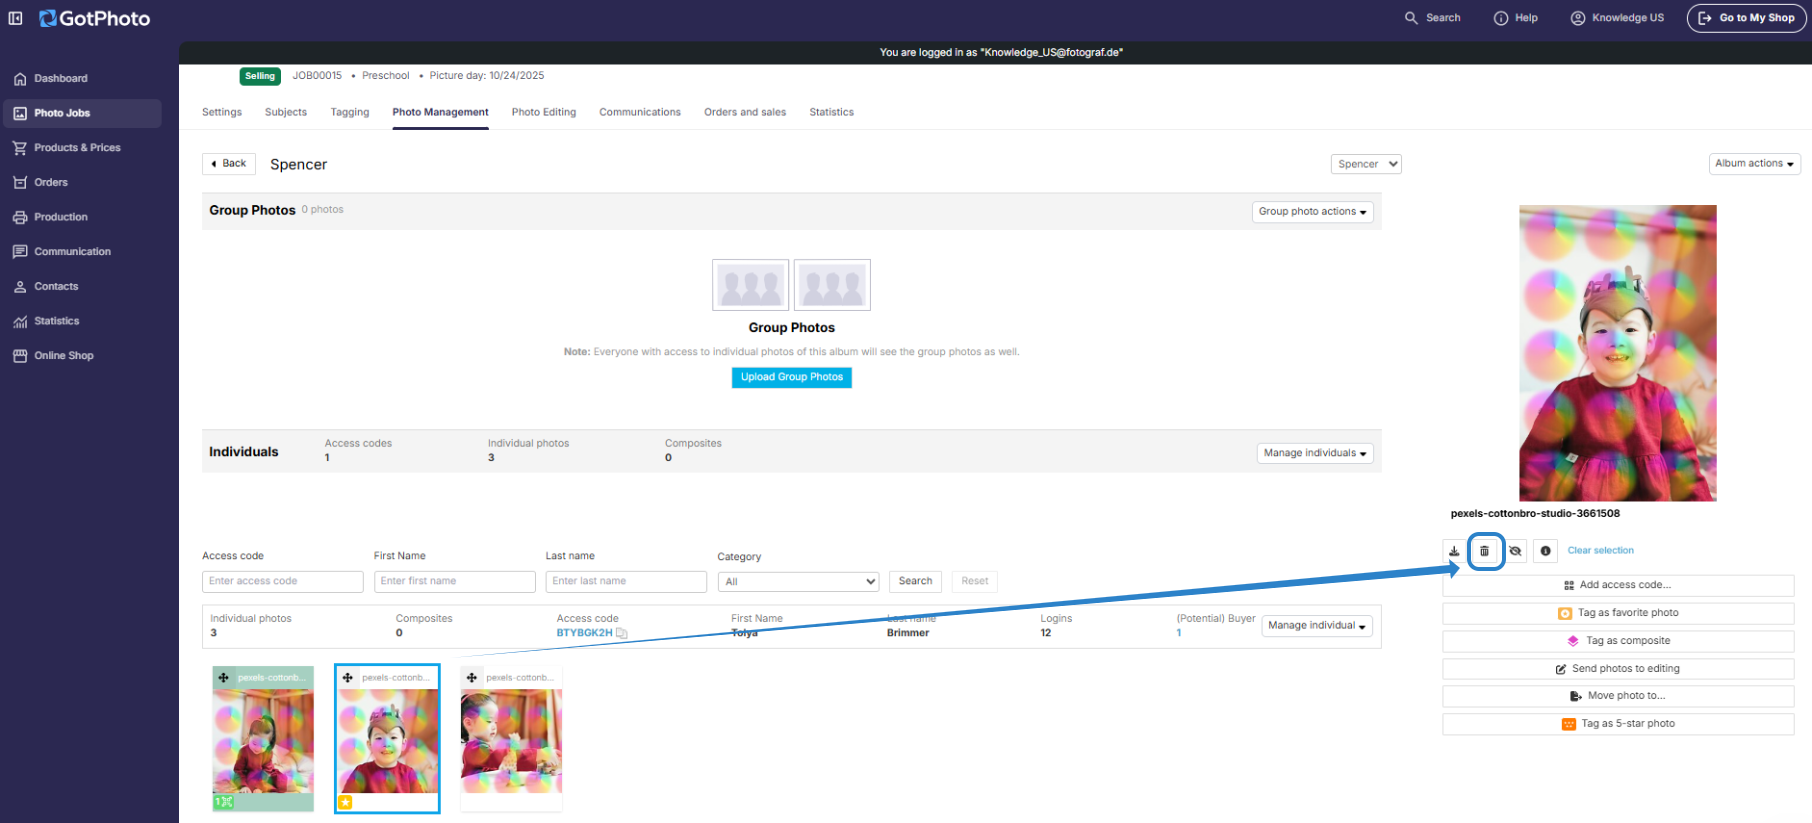
Note: You can delete multiple photos at once.
Select multiple photos (non-adjacent)
- Windows: Hold the Ctrl key
- Mac: Hold the Command (⌘) key
- Click each photo you want to select
Select multiple photos (adjacent)
- Click the first photo in the range
- Hold the Shift key
- Click the last photo in the range
Show or hide photo
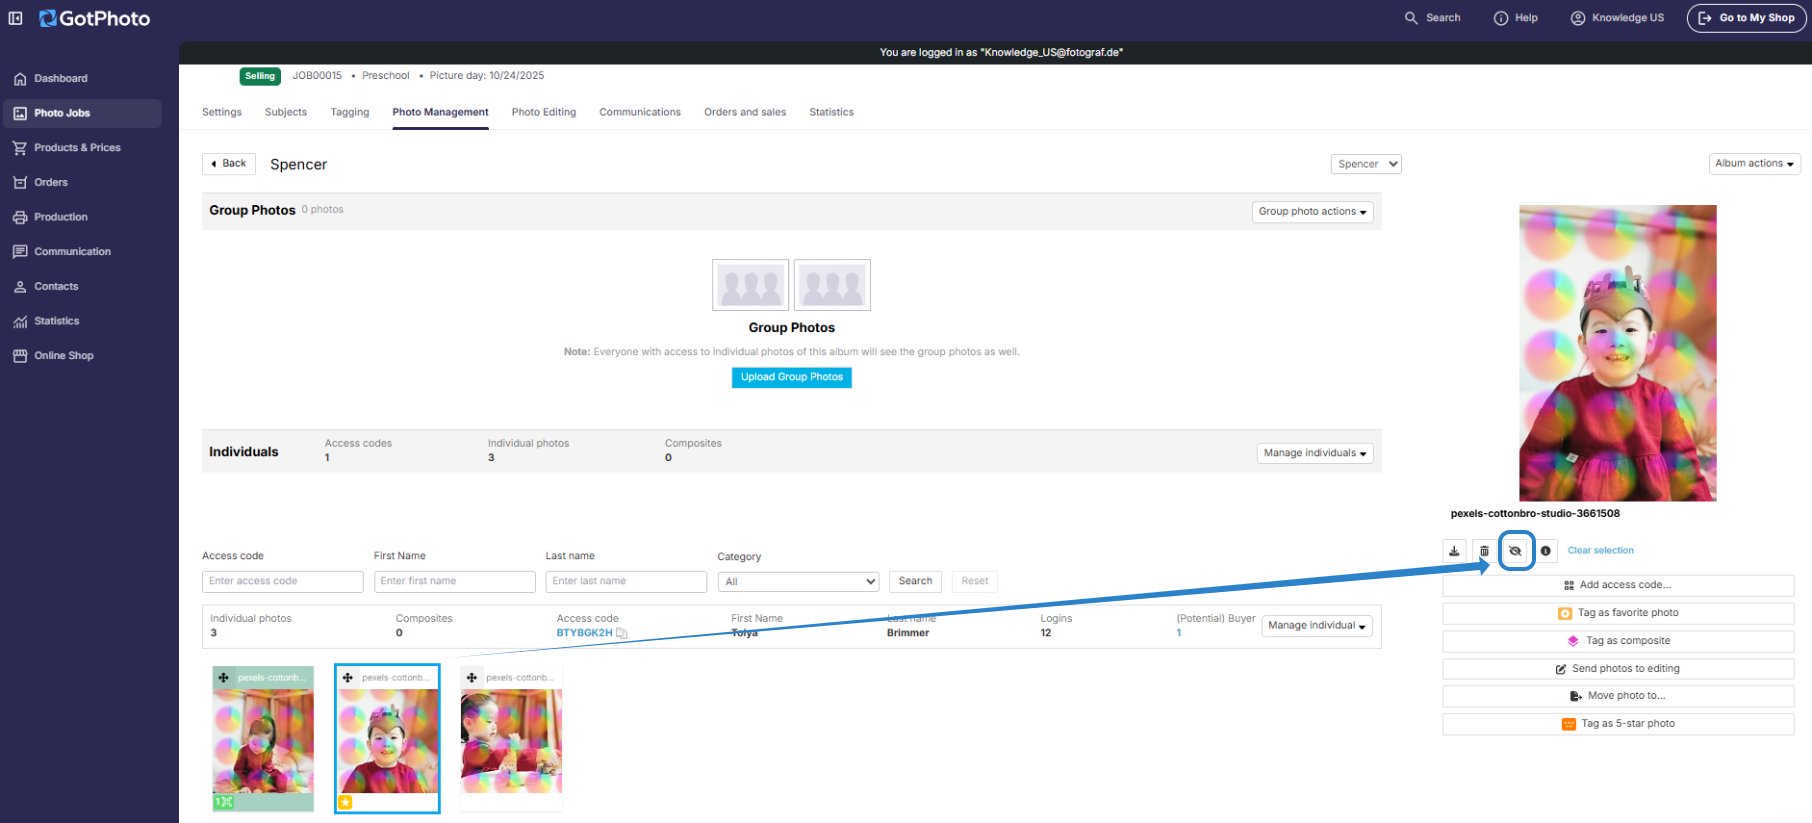
Photos of QR codes are automatically hidden (shown with a crossed-out eye icon). Click the photo and then the icon to show or hide it.
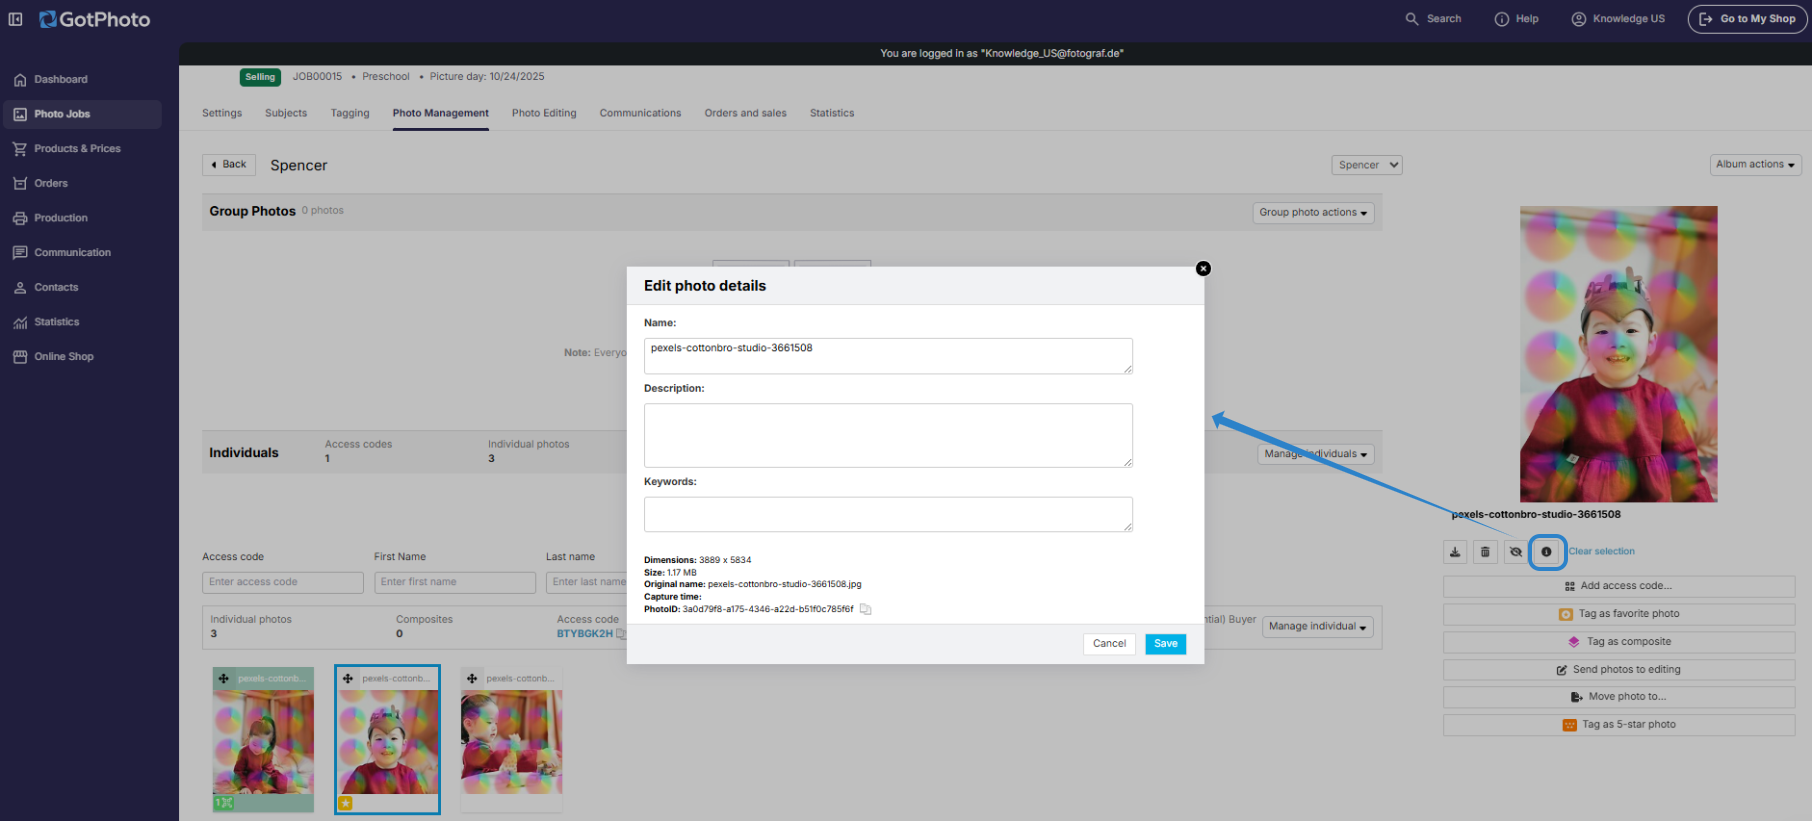
Edit photo details
You will find the following details:
- Dimensions (pixels)
- Size (MB)
- Original name
- Time of capture
- PhotoID (internal ID)
You can edit the name, description, and tags. These changes only apply within GotPhoto.
Revert a replaced photo
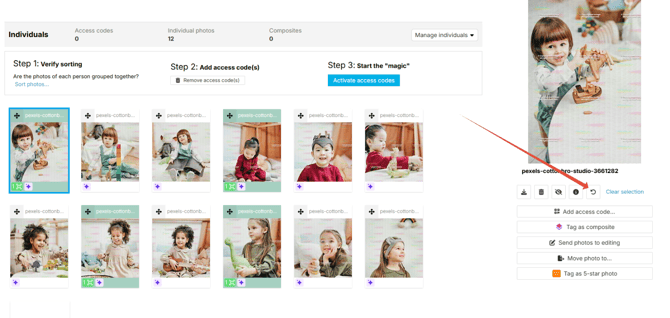
You can now view prior versions of a photo and restore any of them- whether the photo was replaced by an integrated editing service (this includes the automated retouching service) or by you manually.
Reverting is non-destructive: restoring a version doesn’t delete history, it creates a new version instead. This works the same way whether you replaced the photo manually or an editing service overwrote it.
Within an album, select the image you would like to replace and click the replace icon underneath the bigger preview on the right.
 Then, click the previous version that you'd like to restore and press the Restore button.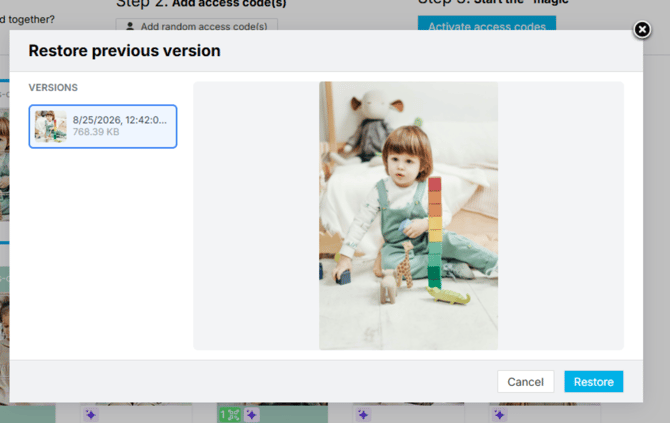
On the confirmation pop-up, press OK.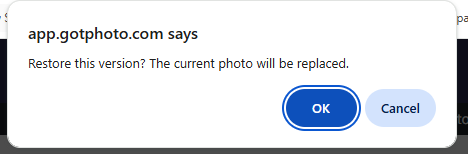
The system will now regenerate the selected version.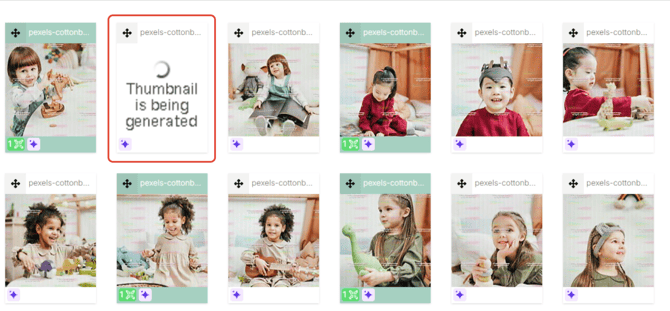
Please note: the AI editing glitter icon stays visible even after a revert, to indicate that an editing service was used on this image at some point. Fees are not refunded if you revert an image to an earlier version. 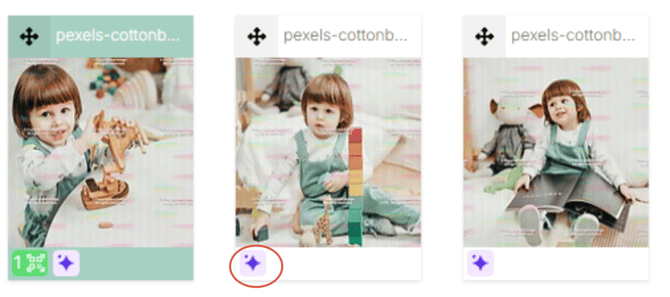
You reverted an image by mistake? No worries, you can always revert back to a past version.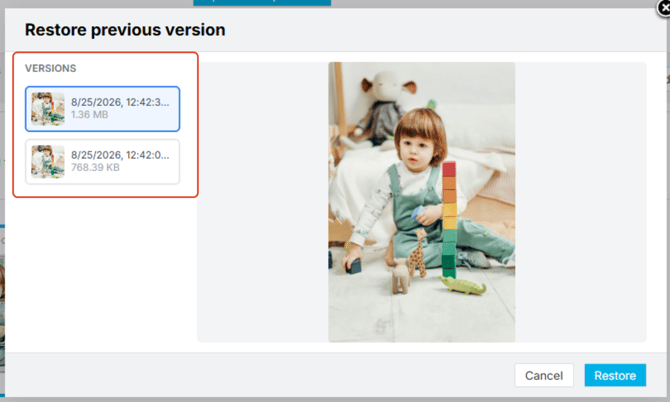
This feature currently works on a single photo at a time. We are looking to add additional functionality in future versions. We welcome your feedback on future improvements to this feature.
Mark as index image
Learn more about the index image function here.
Add an access code
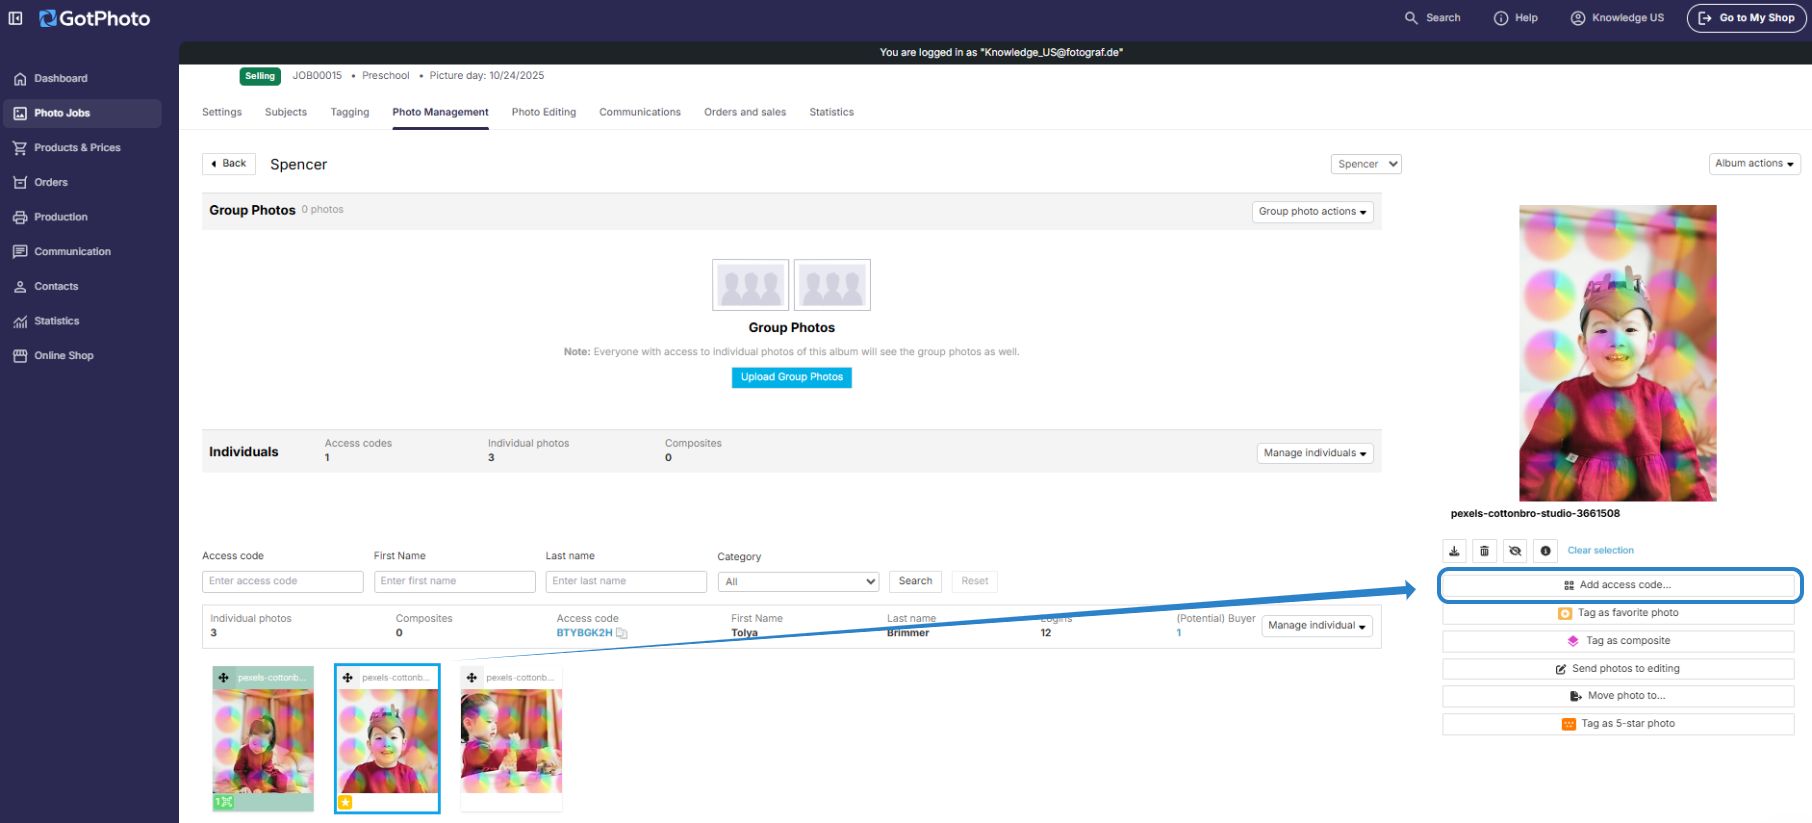
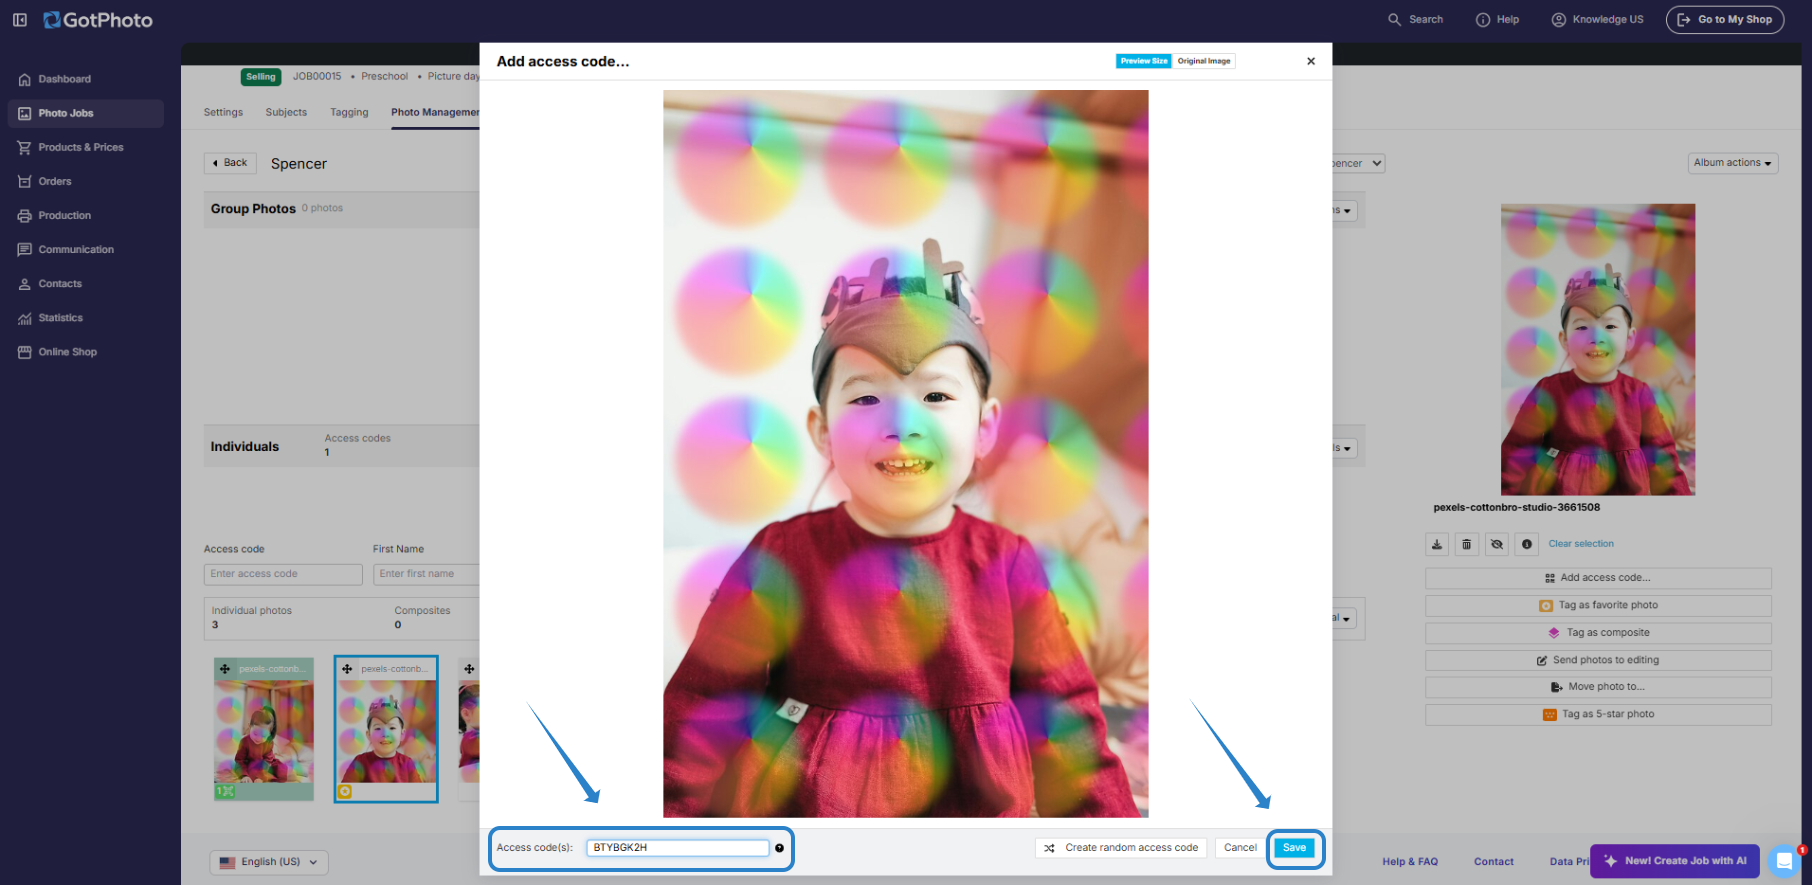
If a QR code photo is missing, you can manually add an access code. Simply click on the photo, select Add access code, and either generate a random code or enter an existing one from the name list.
Mark photo as composite
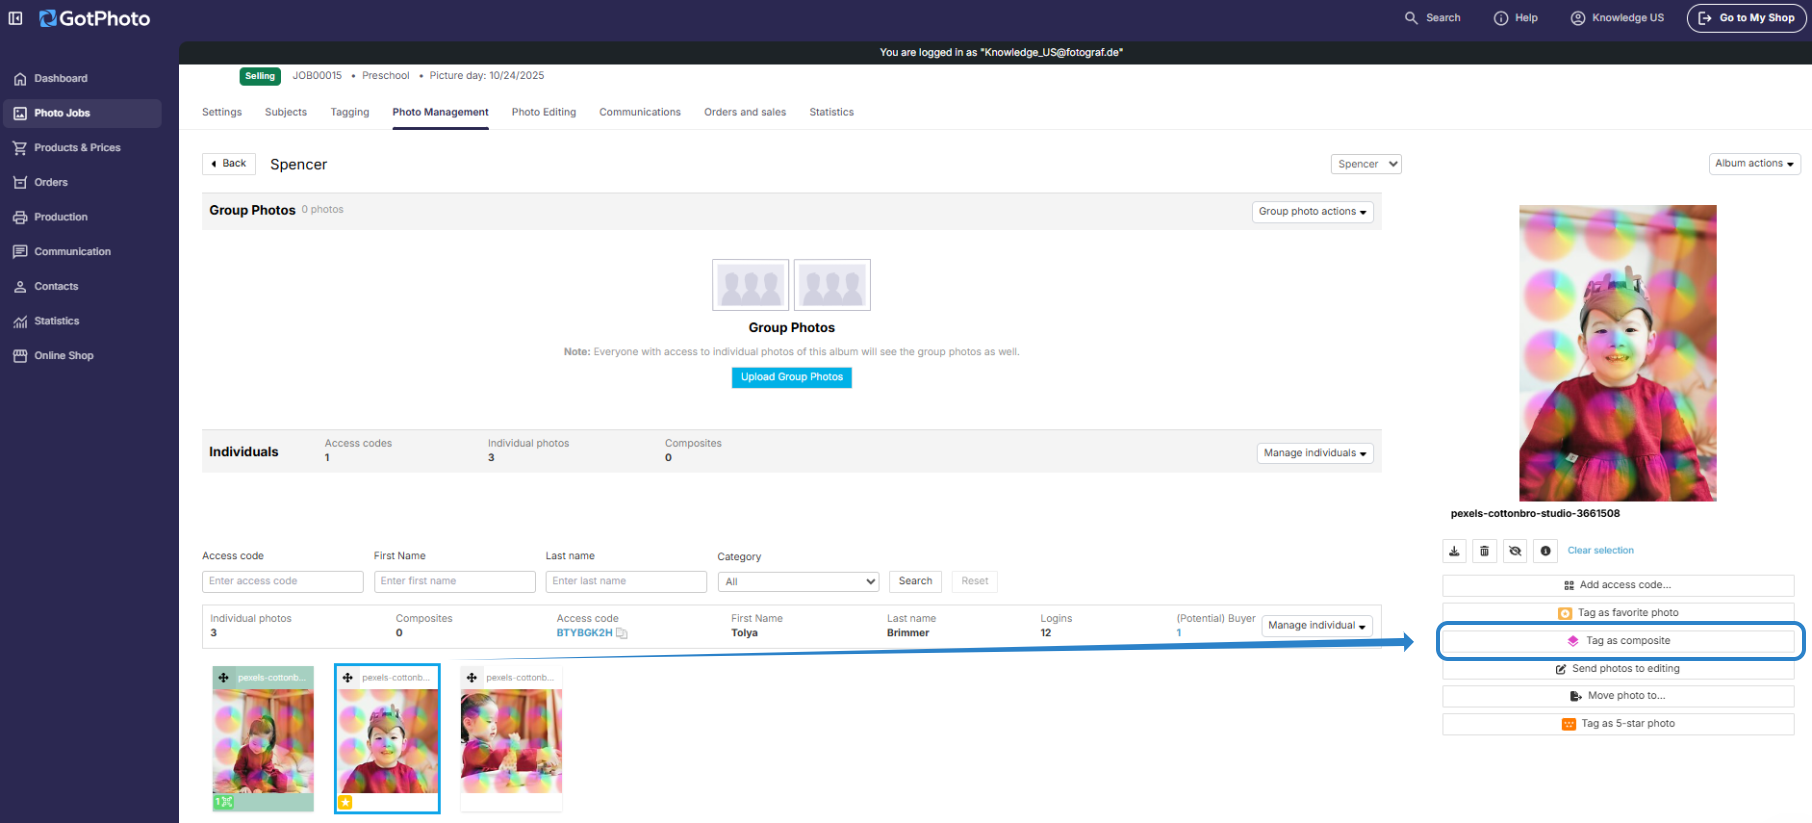
A photo can be marked as a composite, allowing you to apply special pricing for prints or downloads. Learn more about composites here.
Send photos for editing
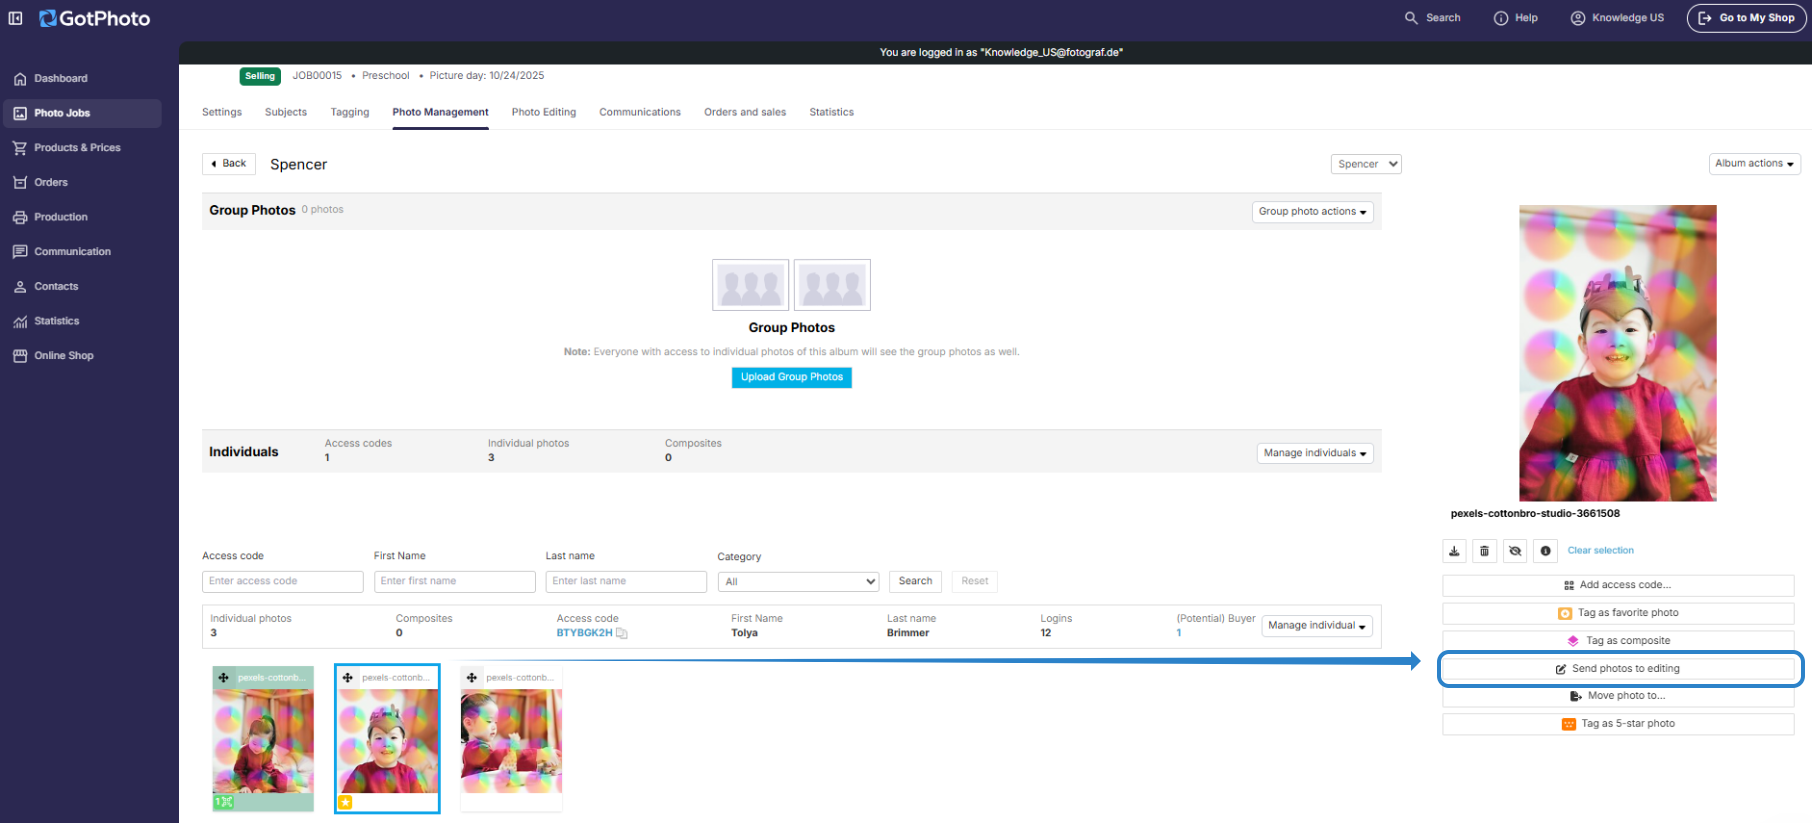
Learn more about sending individual albums or images for editing here.
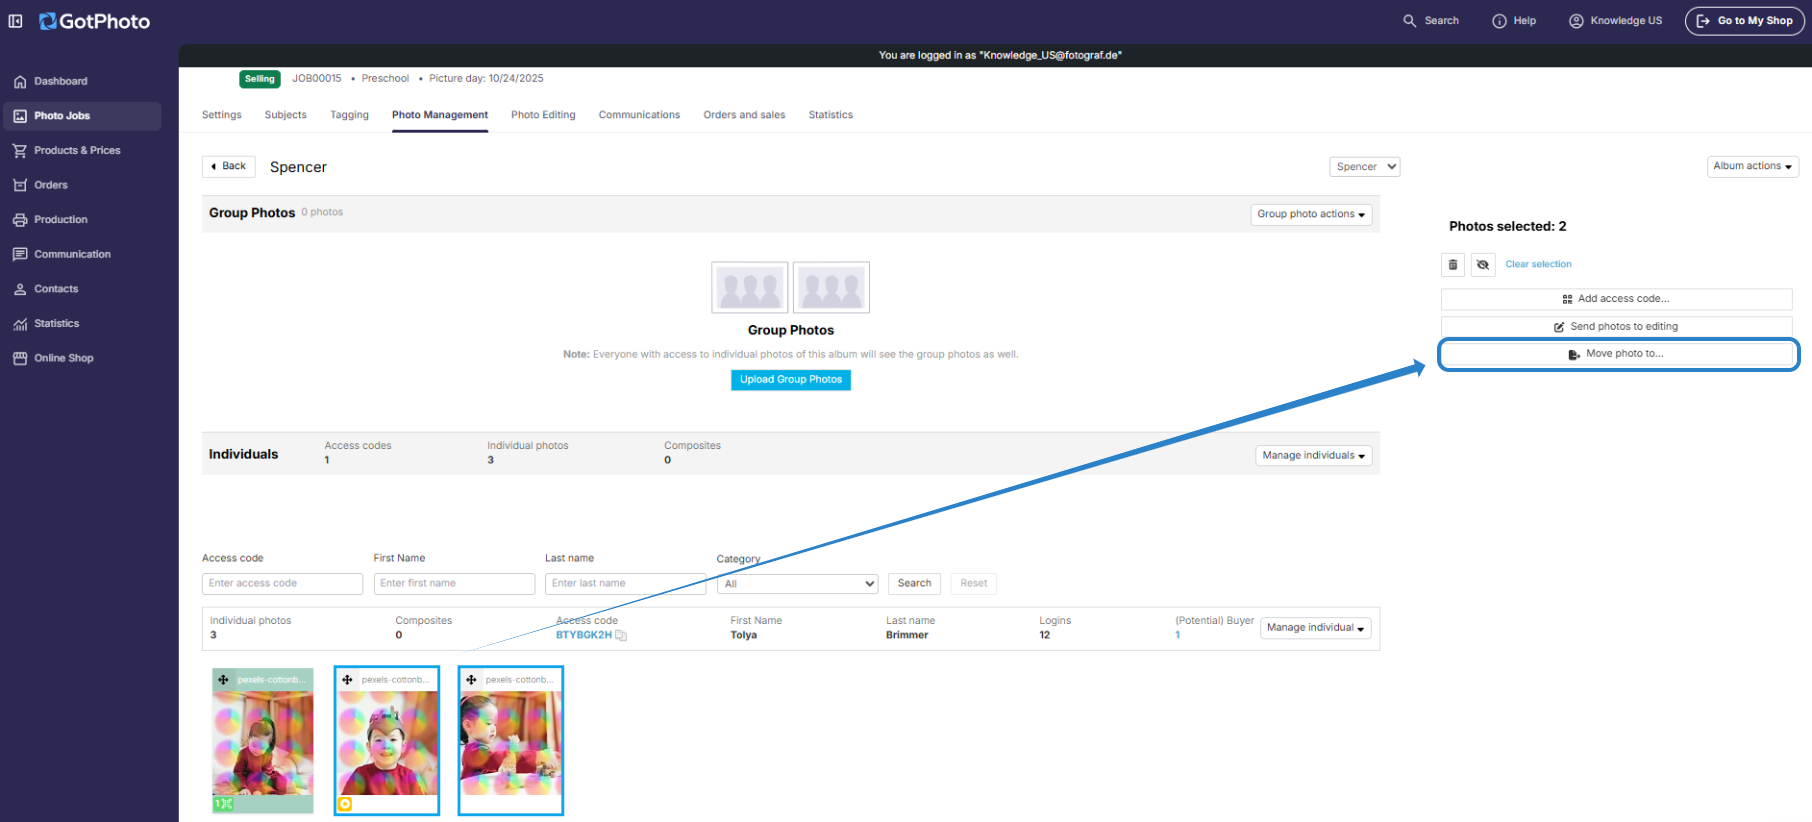
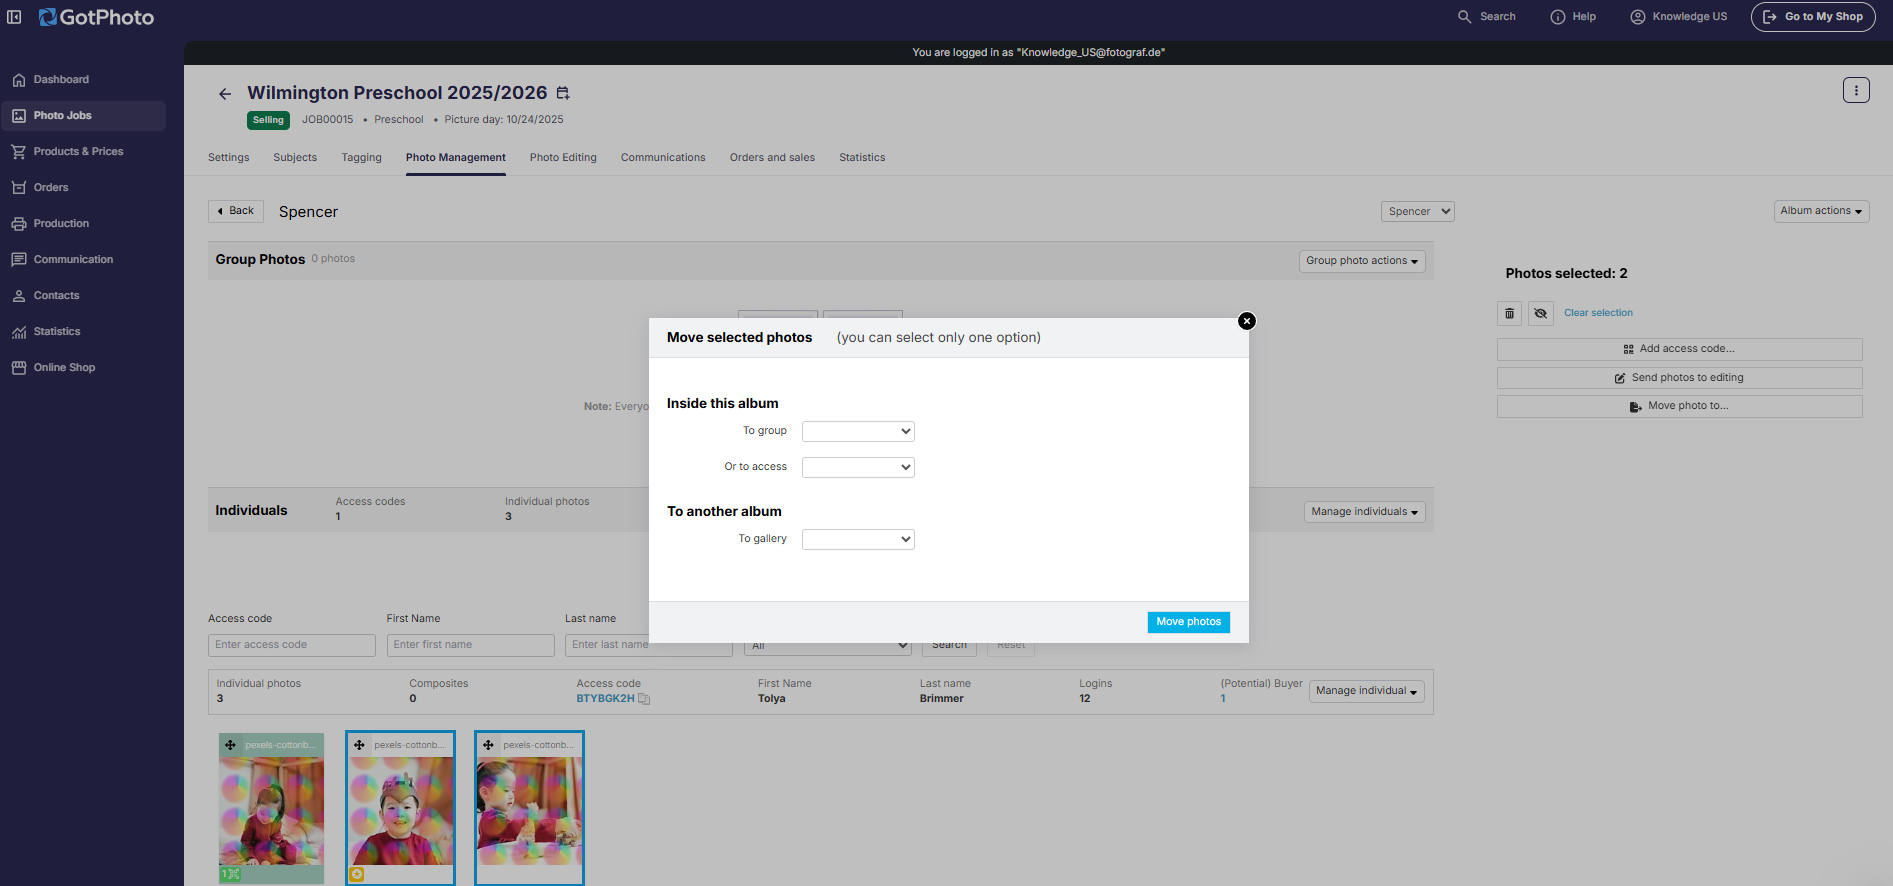
Move photos
You can move single or multiple photos:
- Within an album, between the group and individual photo sections
- From one access code to another
- To a different album
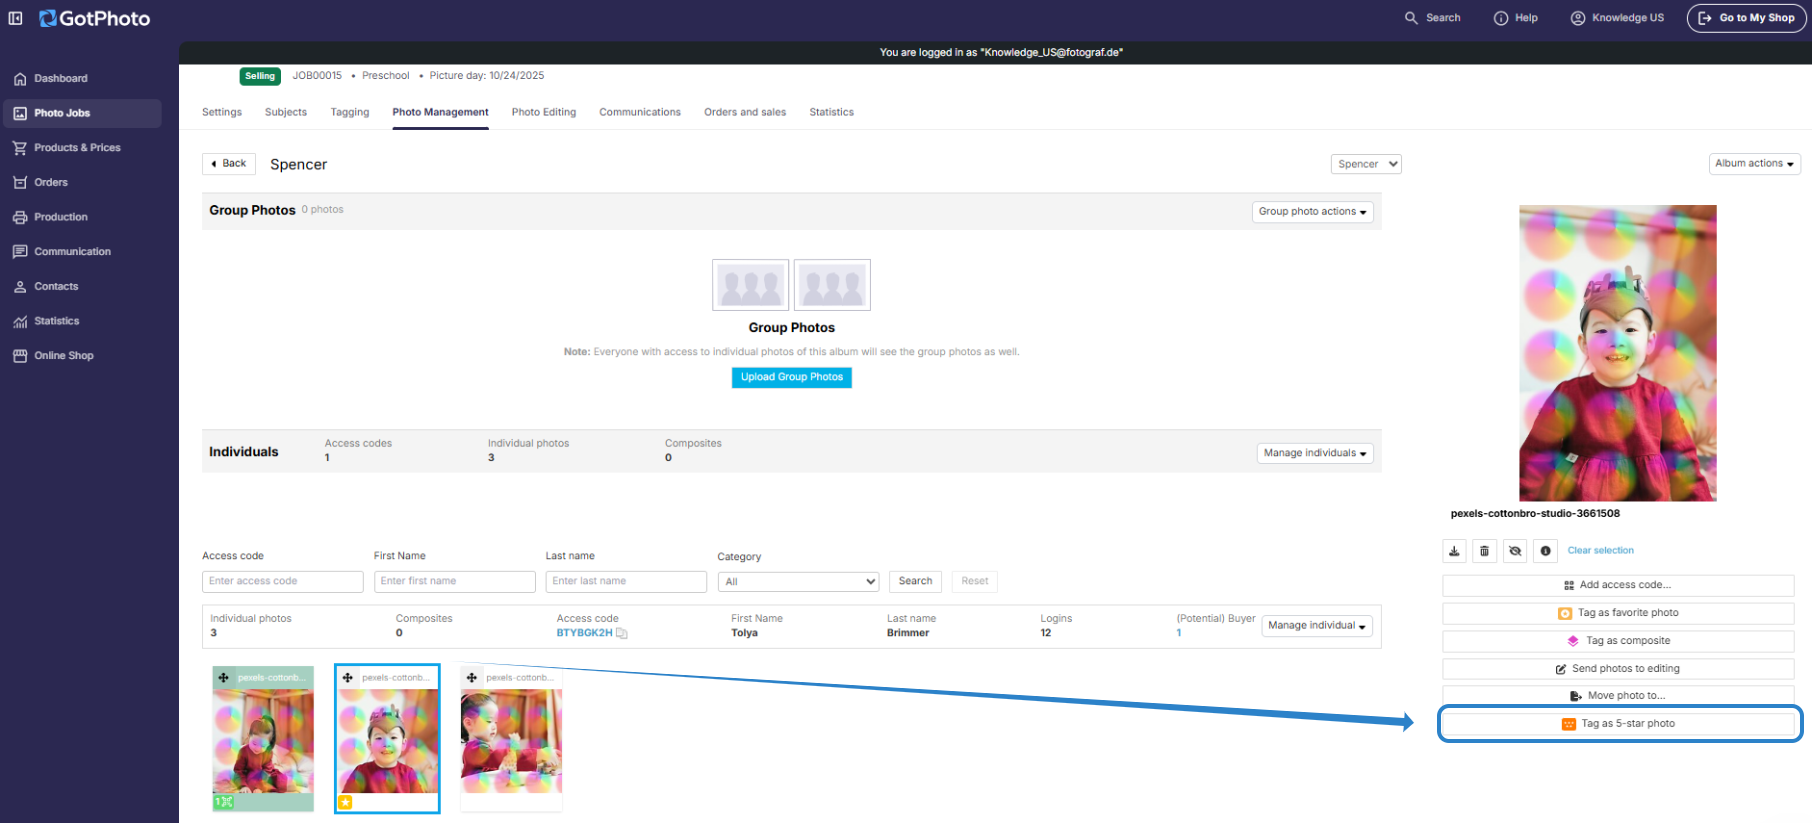
Mark photos with a 5-star rating
In orders that include a name list, selections for favorite, ID, or yearbook photos can be limited to 5-star images. If the image editing software hasn’t marked them automatically, you can manually assign the 5-star rating. Learn more about the 5-star rating here.
The takeaway
These features help you efficiently manage your photo orders in GotPhoto. You can download, delete, move, edit, or mark photos for special purposes such as composites or favorite selections. Using both single and batch editing options can streamline and speed up your workflow.